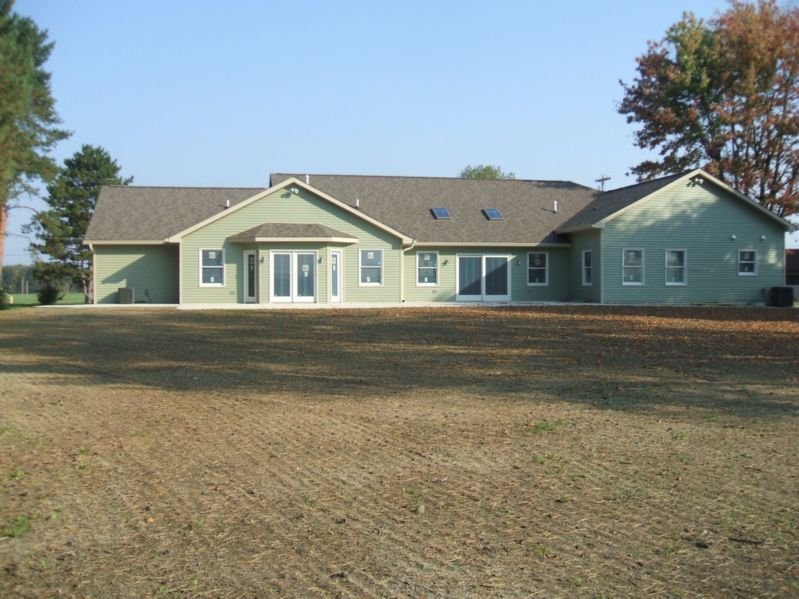
Access Construction & Design is a client-driven company,dedicated to implementing your building vision by taking your project from shovel to key. We offer complete pre-construction, general construction, construction management, and design-build services tailored to the exact needs of your project.
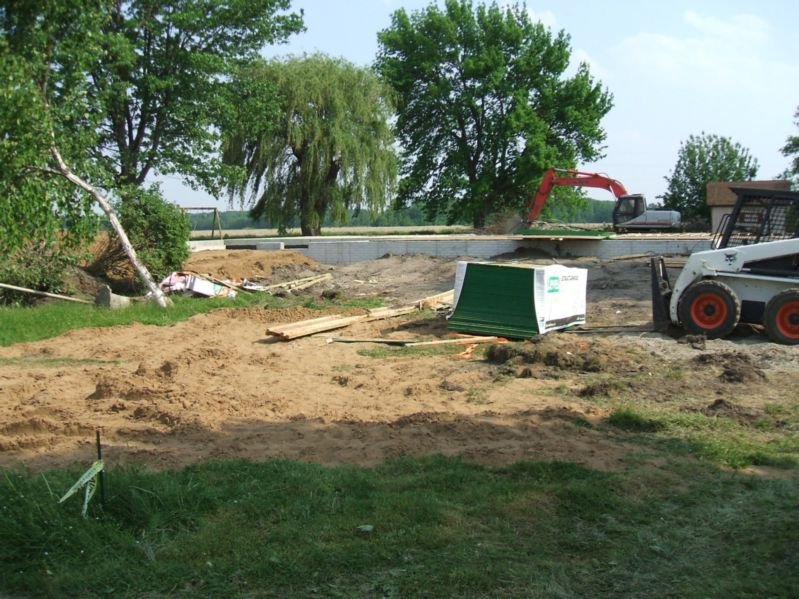
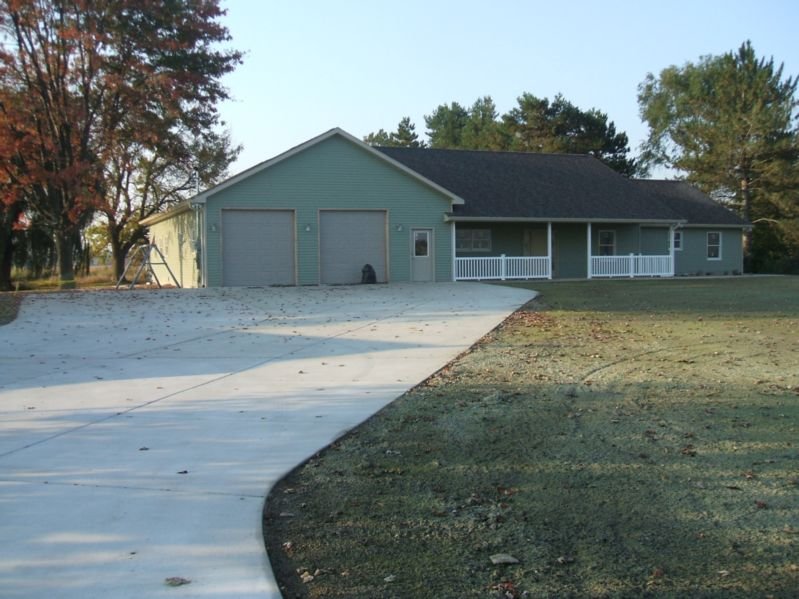
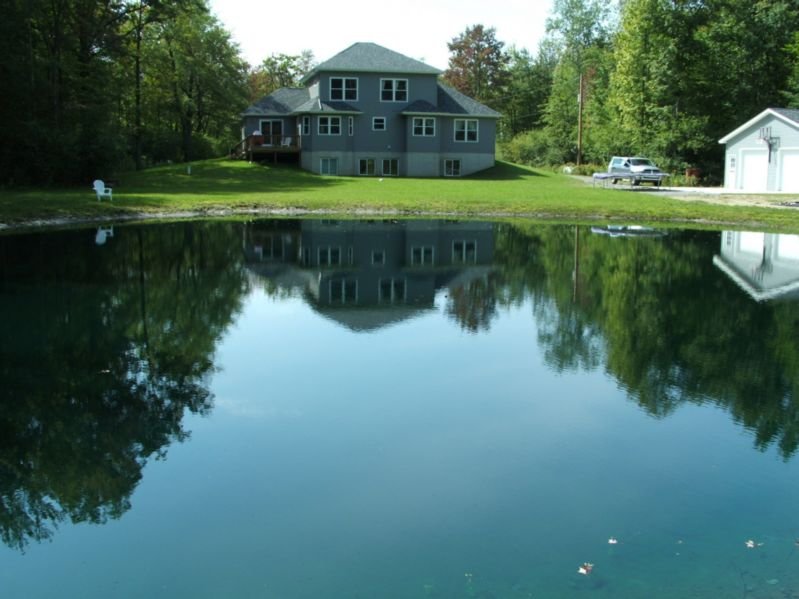
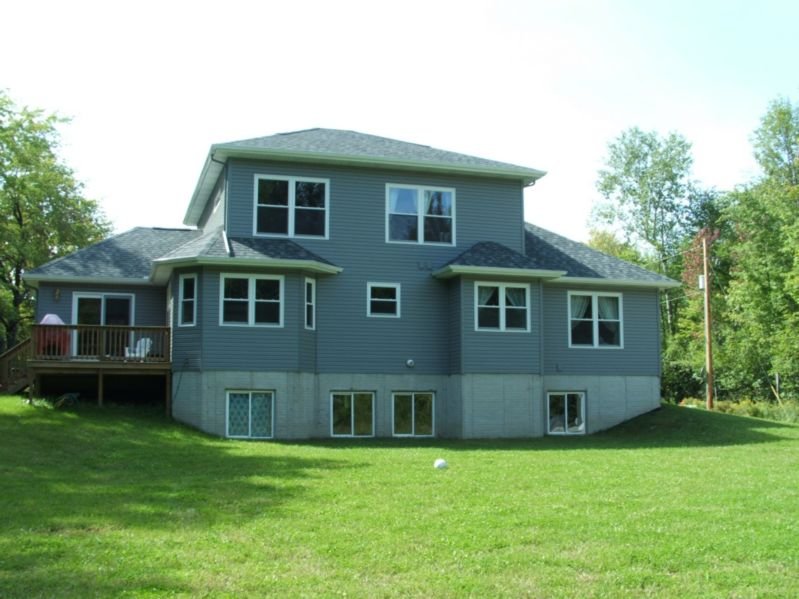
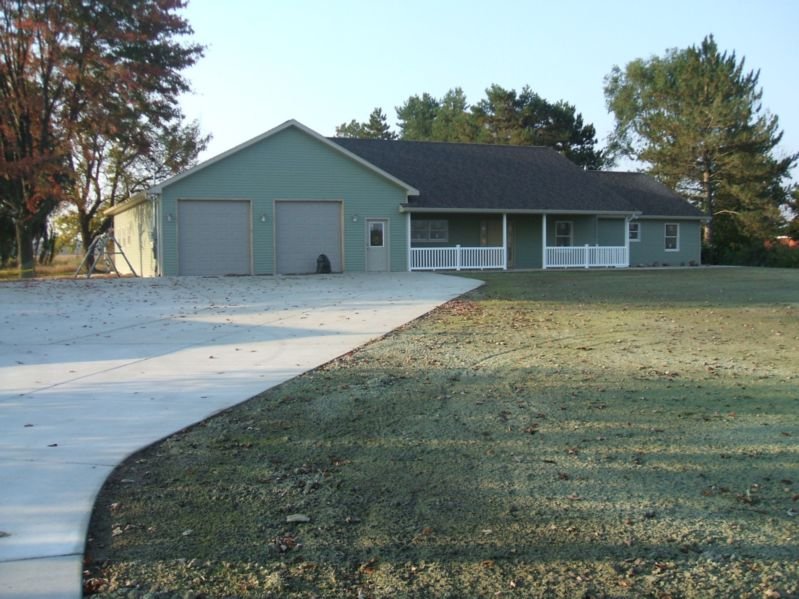
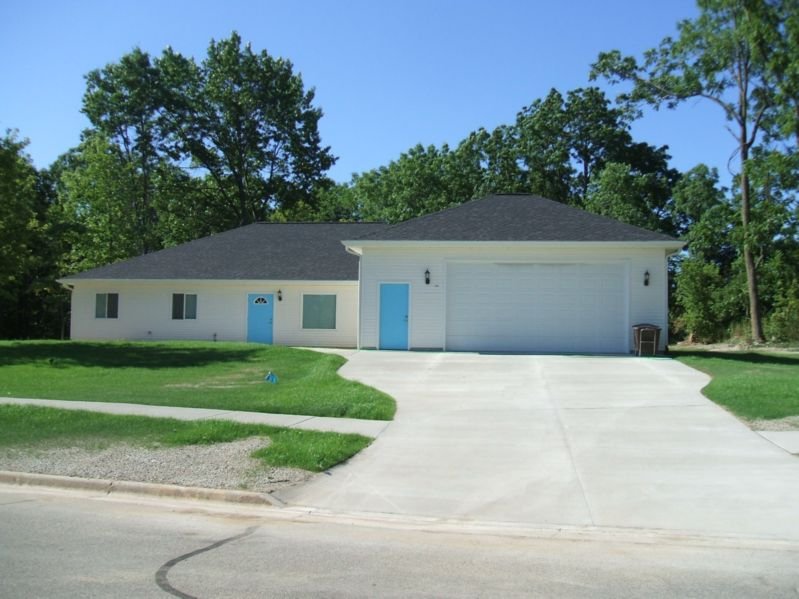
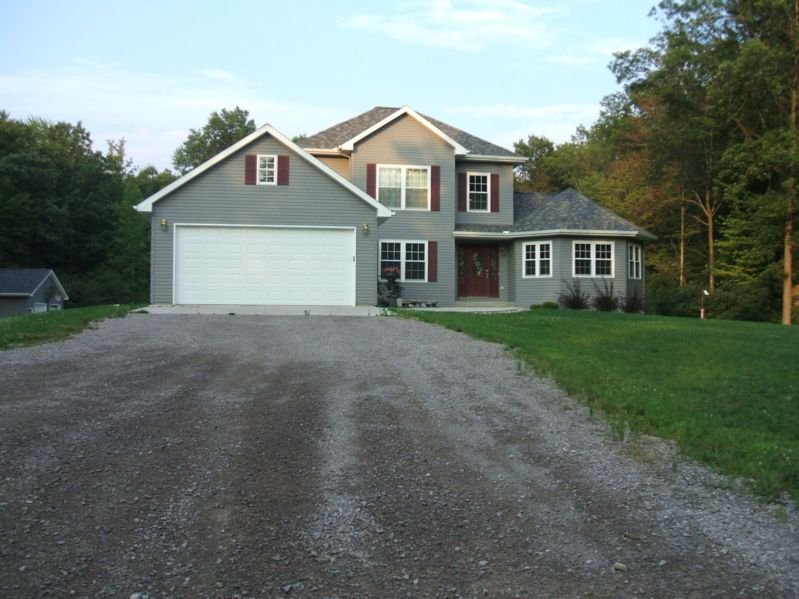
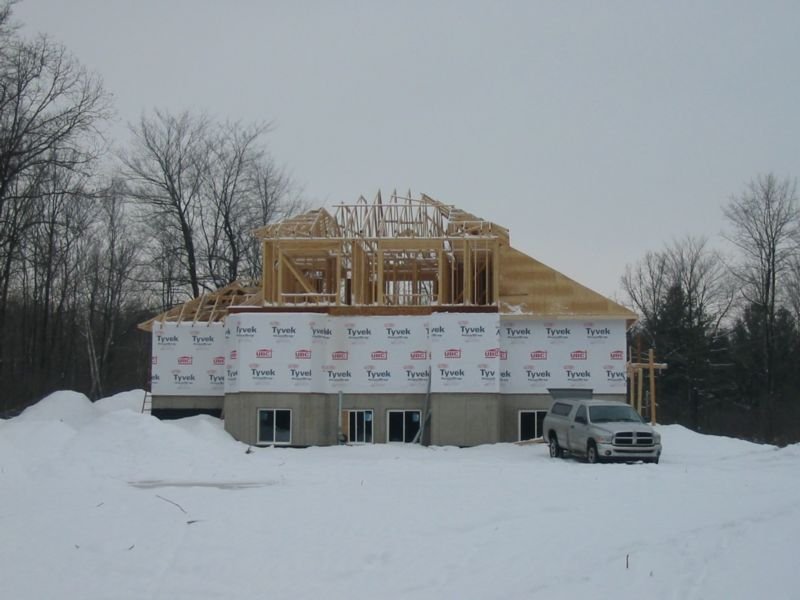
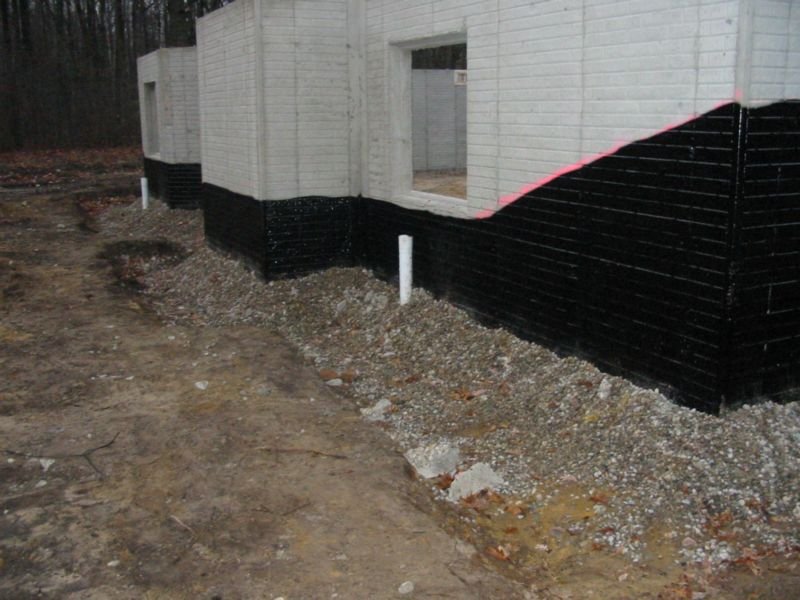
Check out the photo gallery below for some of our completed projects, also below are some helpful tips when planning your new construction.
Think Ahead and Get it Right
To properly and accurately plan your new home, ANY and ALL specifications should be in your purchase contract. This way you KNOW that you can in fact include these upgrades before you SIGN your agreement.
- Nail Down Hardwood Floors – The reason this makes the list is the fact that if your new home is a 2-story your entire staircase will be affected. If a rug or tile is in front of the bottom step than adding a nailed down wood floor after your home is built will mean your bottom step will be about 1.5″ shorter then all the rest of your steps. Builders always determine step height by the floor material that is in front of the staircase. IF you plan on adding wood floors after you close then you will want the builder to make sure they add wood floors in the hallway where your staircase is located. This way you will avoid the “short step” problem later on when you complete your Hardwood Floors.
- Single Garage Door Width – Don’t let your builder put in 8′ doors!!!! You need 9′ or you will have to fold your vehicle mirrors getting in and out! 8′ doors might work if you own a VW Bug or a Fiat, but not with SUV’s or Pickups, which just happen to be the vehicle of choice for many Michiganders. This needs to be known before the slab forms are put in place.
- Garage Door Height – Want to park a boat or F250 that is lifted? Make sure you design in an extra high garage door. Its easy enough to do if the builder knows about it before Framing begins or better yet BEFORE you sign your contract. This way the changes you want are tied to you doing business with that specific builder before you write an earnest money check.
- Garage Length and Width – Well if you are going through the trouble of adding a taller door then you want to make sure you are at least 22′ long if you are to park your F-250 or similar sized vehicle. Garage dimension may be limited by lot size especially if you are building on a lot less than 60′ wide or 120′ deep.
- Sink in Utility Room – Make it as deep as possible. Plan before foundation is poured so plumbing and drains can be set.
- Adding a Bathroom – Sometimes some floor plans just don’t work because they lack a needed bathroom. This addition needs to be known before the cement is poured. An added bath in a Formal area or Study area can be very important if you have a home based business or ever expect to convert this space to a bedroom.
- Salad Sink in Kitchen Island – Having a 2nd sink in the Island helps during food prep and clean up. Don’t forget a 2nd sink disposal.
- Refrigerator or Freezer Power Plug in Utility Room or Garage – This must be added during the Frame Stage. This is important because this line needs to be on its own protected circuit to prevent breaker trips on other outlets.
- Ice Maker Water Line to 2nd Refrigerator – This must be done before Foundation is poured.
- Closes Dryer Gas Line – Complete during Frame Stage.
- Gas and Electric Drops for Kitchen Cook top – If located in Island, this must be known by your builder before the cement is poured.
- Wet Bar Prep – Rough in for wet bar power, Cabinet Lighting Switches, plumbing drain and water supply. This will allow you to install a new wet bar later on if you don’t have the builder install one during construction.
- Recessed “Can” Lighting – Especially on 2-story homes, you really need to look at this closely as many homes have insufficient lighting. It is very expensive and difficult to install additional 1st floor can lighting into homes that have a 2nd story above without making a lot of holes in sheet rock. This needs to be added no later than Frame Stage.
- Art Deco Lighting – This is GREAT for wall recesses as you can add warm lighting for some of your favorite art work or family portraits. Remember all this is EASY and cheap during the build process. Afterwards this sort of retrofit becomes a mess and can mar sheet rock.
- Solar Light Tubes – If you love natural light then adding a single solar tube to a kitchen or family room or any other darker area of your home will really lighten and brighten up your living space. Solar lights once installed bring sunlight into your home saving you the need to turn on lights. Solar Tubes run about $700 per drop. If you are building a 2 Story home you MUST plan these at build stage as retrofitting will be impossible.
- Sconce Wall Lighting – In Media Room or elsewhere, must be completed during Frame Stage.
- Sconce Staircase Lighting – Add at Frame Stage.
- Flush Mounted Soffit Lights – These are so cool. Once you see them you will want them. They are located in an area that is protected from weather unlike lights that are mounted close to the foundation. These need to be installed at Frame Stage.
- High Intensity Florescent Lights – These florescent bulbs are narrower or have a smaller radius, but put out double the light or more. This type of lighting is a MUST for Utility Rooms, Garage Work Areas, Pantries and especially the MASTER CLOSET. No your eyes are not going bad! Most builders simply “poo-poo” lighting in these areas. It is CHEAPER to NOT have them put cheap lighting in, but credit you for the more expensive fixture, which really is only a few bucks more!!! THIS IS A MUST
- Automatic Lighting via door open & close switches – these are PERFECT for closets and pantries. These need to be installed at FRAME STATE when the home is being wired. Open the door and there is LIGHT, close and there is NO light! Perfect!!!
- Exterior MOTION Lights – Got a place around the house where you want a MOTION light? Now is the time to put that in. The builder will credit you the fixture you don’t install and price out the motion light fixture.
- Concrete Wall Board for Bathroom Wet Areas. Want to truly bullet proof your shower / tub areas? Use concrete board versus green board. Concrete board is impervious to water damage and really grips tiles in a more permanent fashion. This should be in your contract to build up front.
- Soffit Lights – Under Soffit low voltage or low wattage spots add excellent accent lighting and a unique looks.
- Flat Panel Screens – Cable and power drops in Bedrooms, Master Baths, Garage or any other “Special” location that will allow you to mount a Flat Screen without having unsightly power and cables running up your walls. Add at Frame Stage. Also consider if you want an outdoor monitor as plugs and video cables can be installed cheaply when building versus retrofitting.
- Video – Power Drops for Media Room Front Projector complete during Frame Stage.
- Whole House Internet – Wiring and Plug-n-play tech center for all TV, Telephone, Internet and Network equipment, routers, amplifiers and modems. The fact is wireless is a DOWNGRADE compared to secure hardwire communications. Wireless can be much less secure if unencrypted since your network signal can be picked up all around your home. Add at Frame Stage.
- Extra Network – Additional drops for your home office – I recommend 2 Drops to be added at Frame Stage.
- Home Speaker or Intercom System – Whole house intercom or speaker wiring for background music. Add at Frame Stage.
- Extra Closet Storage Shelving – This way if the Builder puts a nail in a PIPE behind the wall, he will catch it during construction. Add before paint stage.
- Outdoor Speaker Drops – Add at Frame Stage.
- Outdoor Video and Power Drop for Outside TV – Add at Frame Stage.
- Security Cameras – Front and rear entry Video Cable Drops added at Frame Stage
- Christmas Light Outlets – Installed under roof line in the Soffits. These convenience plugs are added at Frame Stage. For added convenience add an indoor on/off switch and MAKE SURE this outlet is on its own individual circuit breaker in your main breaker panel.
- Outdoor Spotlights – Tree Lights or exterior house lighting. Frame Stage. Choose low voltage lights to help save on electric cost.
- Built-Ins – These may include Kitchen Cabinet Garbage pull outs, Wine Lattice wind rack, Pasta Bins, Butler Pantry Cabinets, kitchen “bread box,” Book Cases, and entertainment built-ins. Must be known a few weeks before cabinets will be installed. Butler’s Pantry would have to be designed in at early planning stage.
- Shower Head in Master that is HIGH ENOUGH!!! – You’ll be glad you added this one at the Frame Stage during Plumbing installation.
- Extended Patio – This needs to be planned before the slab is poured especially if you want the Patio extension to be part of the foundation structure. You can always add afterwards, but be prepared to tear up sprinkler lines and sod. Seems to me it would be cheaper to include day one!
- Outdoor Gas Line to Grille – Add at Frame Stage.
- Outdoor Kitchen – Any outdoor plumbing and power drops for an outdoor kitchen should be added before Foundation is poured.
- Extended Driveway – Handy for added parking opportunities, this must be decided before foundation is poured. It is cheaper for builder to add this from the Cement Truck then to mix up individual bags afterwards PLUS all the Cement matches.
- Extra Power Drops in Garage – These may include a speaker drop, video drop or extra outlets in construction benches. The Garage is a UTILITY ROOM so give it MORE UTILITY! Like to spend time in the Garage? Maybe these features will help! Add at Frame Stage.
- Attic Storage – Locate a logical space in your attic for storage. At Frame Stage. To do one better identify an area under roof that can be included into the interior space. If you insulate this space it will help keep storage items within a more tolerable temperature range WITHOUT adding AC and Heating ducts. Better home builders include this in their plans.
Tips for Hassle-Free Home Construction
- Investigate the Area: Before purchasing land, research the school district and crime rate. Drive around the surrounding area, checking for convenience to interstates, schools, shopping and restaurants.
- Don’t Overbuild: Before finalizing home plans and beginning construction, compare the home you’re planning with others on the same street. You never want to be the most expensive house on the block; you won’t get your money back when you sell.
- Don’t Select a Builder Based Solely on Bid: When choosing a builder, don’t select the one with either the highest or lowest bid. A high bid doesn’t guarantee a superior product and the lowest bid could mean that you’ll be hit with extra costs as construction progresses. Often, the low number is to reel you in and the extras will be tacked on later.
- Hire Locally: Word-of-mouth references are a good gauge of a builder’s reputation. So ask around, then hire the best builder in the community. A well-established local builder will have plenty of nearby subcontractors and suppliers to rely on, meaning no costly travel delays while waiting for out-of-town crews and materials.
- Build for Your Future: When planning your home’s layout, think not only about your current lifestyle but also plan for a few years down the road. For older adults, a master bedroom on the ground floor is a smart bet. Also, including a shaft that could one day be an elevator is a good idea. The space could be used as closets now and easily converted to an elevator should the need arise.
- Don’t Go With the Latest and Greatest: Fill your home with technology that will stand the test of time. State-of-the-art features are great but quickly become outdated. Buy products that have been on the market for a year or two. They’re less expensive, readily available and any initial kinks and design flaws have been worked out.
- Avoid Trends: Nothing betrays a home’s age like trendy, of-the-moment fixtures. Let’s say that Brazilian cherry hardwood is all the rage, then it goes out of style making your home look dated. Select fixtures and features that are classic so your home always looks current.

